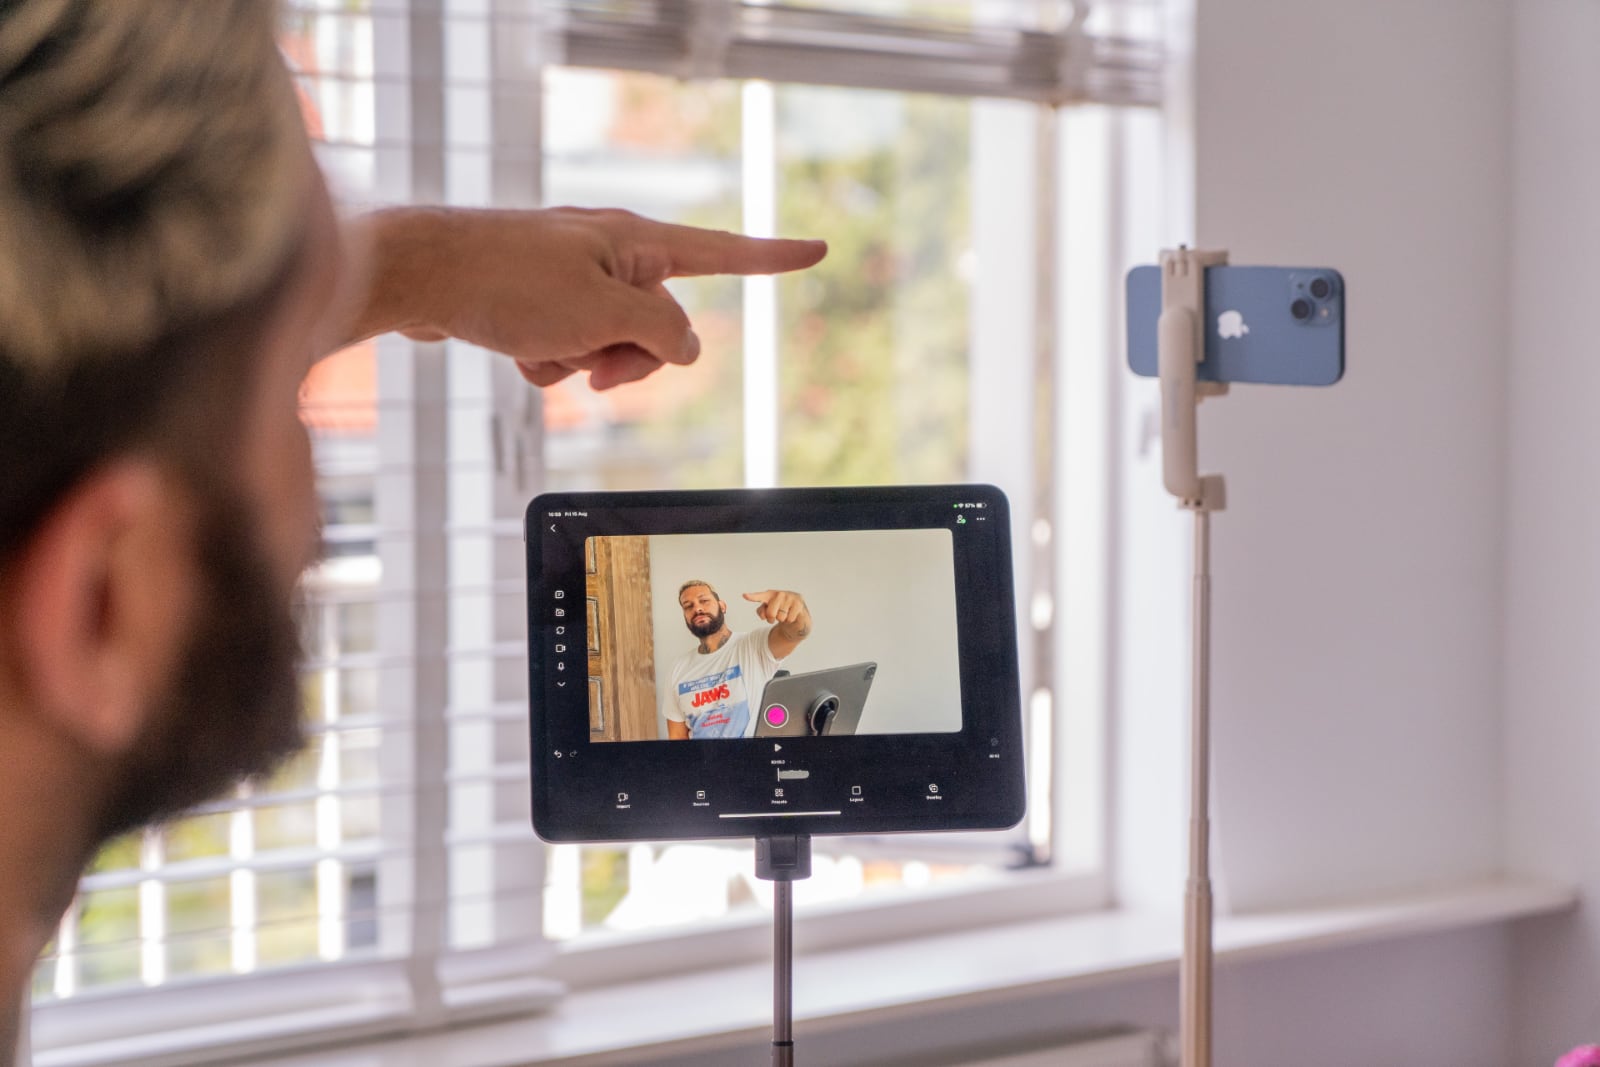
Overlays in Detail are a simple yet powerful way to level up your videos with text, drawings, and images. Whether you're creating tutorials, product videos, or reactions, overlays help you add context and personality without needing extra software.
In this guide, we’ll walk through how to add and adjust overlays using Detail on an iPhone or iPad, perfect for hands-on editing and quick visual enhancements.
A Fully Visual Timeline
When you open your project, you’ll notice your overlays and voiceovers now appear as colorful bars on your timeline:
Text overlays
Image or drawing bars in separate lanes
Voiceovers in their own lane
This makes it easier to see where everything is and how long it lasts.
Step 1: Record or Import Your Video
You can either record directly inside the app, or you can import any video from your camera roll or using a URL, like a YouTube, TikTok or Instagram link. Here’s how:
In Detail, start a new project.
Tap Import
You can Import from photos or Import from URL
For importing from URL, open the other app and copy the video link you want to use.
Go back to Detail and paste the link.
Your video will load into the timeline. It only takes a few seconds.
Step 2: Add Overlays
Once your video is loaded, look for the Overlay tool [+].
From here, you can:
Add text overlays directly to your timeline.
Drag overlays to reposition them.
Adjust their length by dragging the edges, great for timing your text with what’s happening in the video.
Duplicate overlays if you want to reuse a style or format.
Step 3: Work with Multiple Overlay Lanes
You can stack different types of overlays, each in their own lane:
Images: Add visuals like screenshots, graphics, or product images.
Drawings: Use the draw tool to highlight parts of your video or add hand-drawn elements.
Text: Add text, edit or add an animation.
Voice over: You can add a voice over and move it inside the timeline.
Each overlay lane can be moved and resized individually. You’ll always have a clear visual reference of where each element is and how long it will stay on screen.
How to Interact with the New Timeline
Double-tap on your timeline to reveal the overlay and voiceover lanes.
Tap any bar to select it. Once selected, you can:
Drag it to a new position
Extend or shorten the duration by pulling the ends
Duplicate or delete overlays with just a tap
Everything sits in its own lane, so you can stack elements without overlap. If you place overlays on top of each other, they’ll appear layered in your video.
Why This Matters
Having this kind of visual control on the timeline makes editing:
Faster – no need to open extra menus to tweak timing
More precise – see exactly when overlays appear
More creative – easily stack multiple layers of content
Whether you're adding text callouts, annotations, drawings, or voiceovers, you now have the tools to make your video feel more dynamic without slowing down your process.
Tips for Using Overlays
Keep overlays simple and readable, especially for text.
Use drawings to highlight or circle specific parts of your video.
Layering text and image overlays can help call attention to key moments or information.
Overlays are a great way to make your videos stand out, whether you're adding captions, annotations, or extra visuals. With Detail, it’s all easy to do by tapping, dragging, and adjusting directly on your timeline.
Have questions or want to show us how you’re using overlays? Drop us a message. We’d love to see what you create.
Happy editing!


